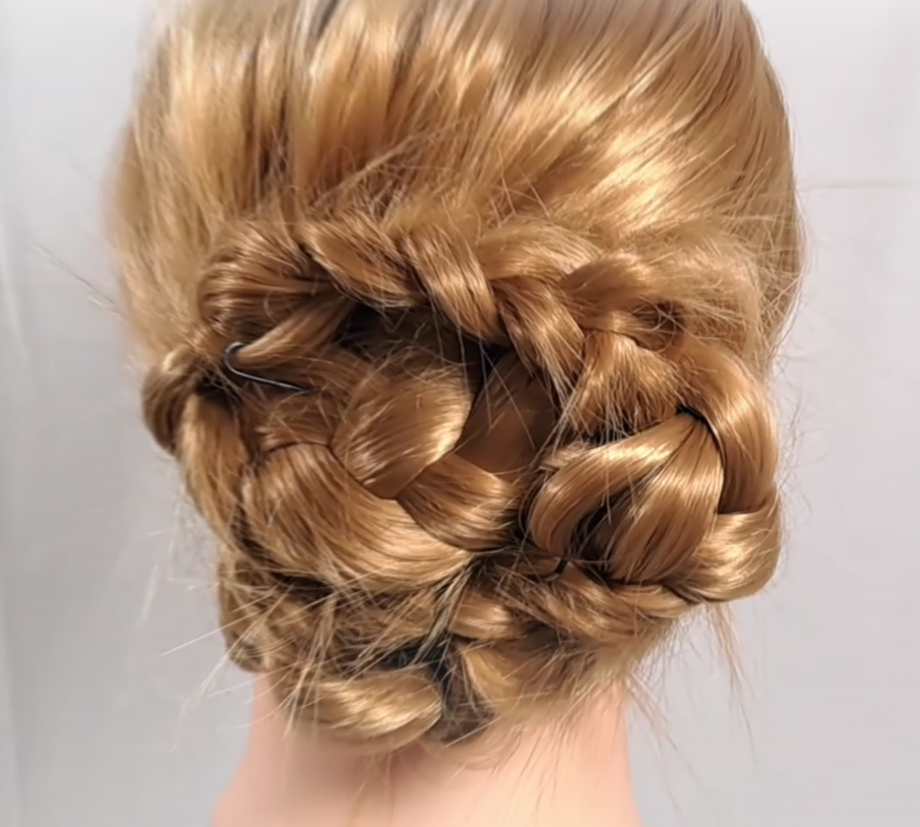
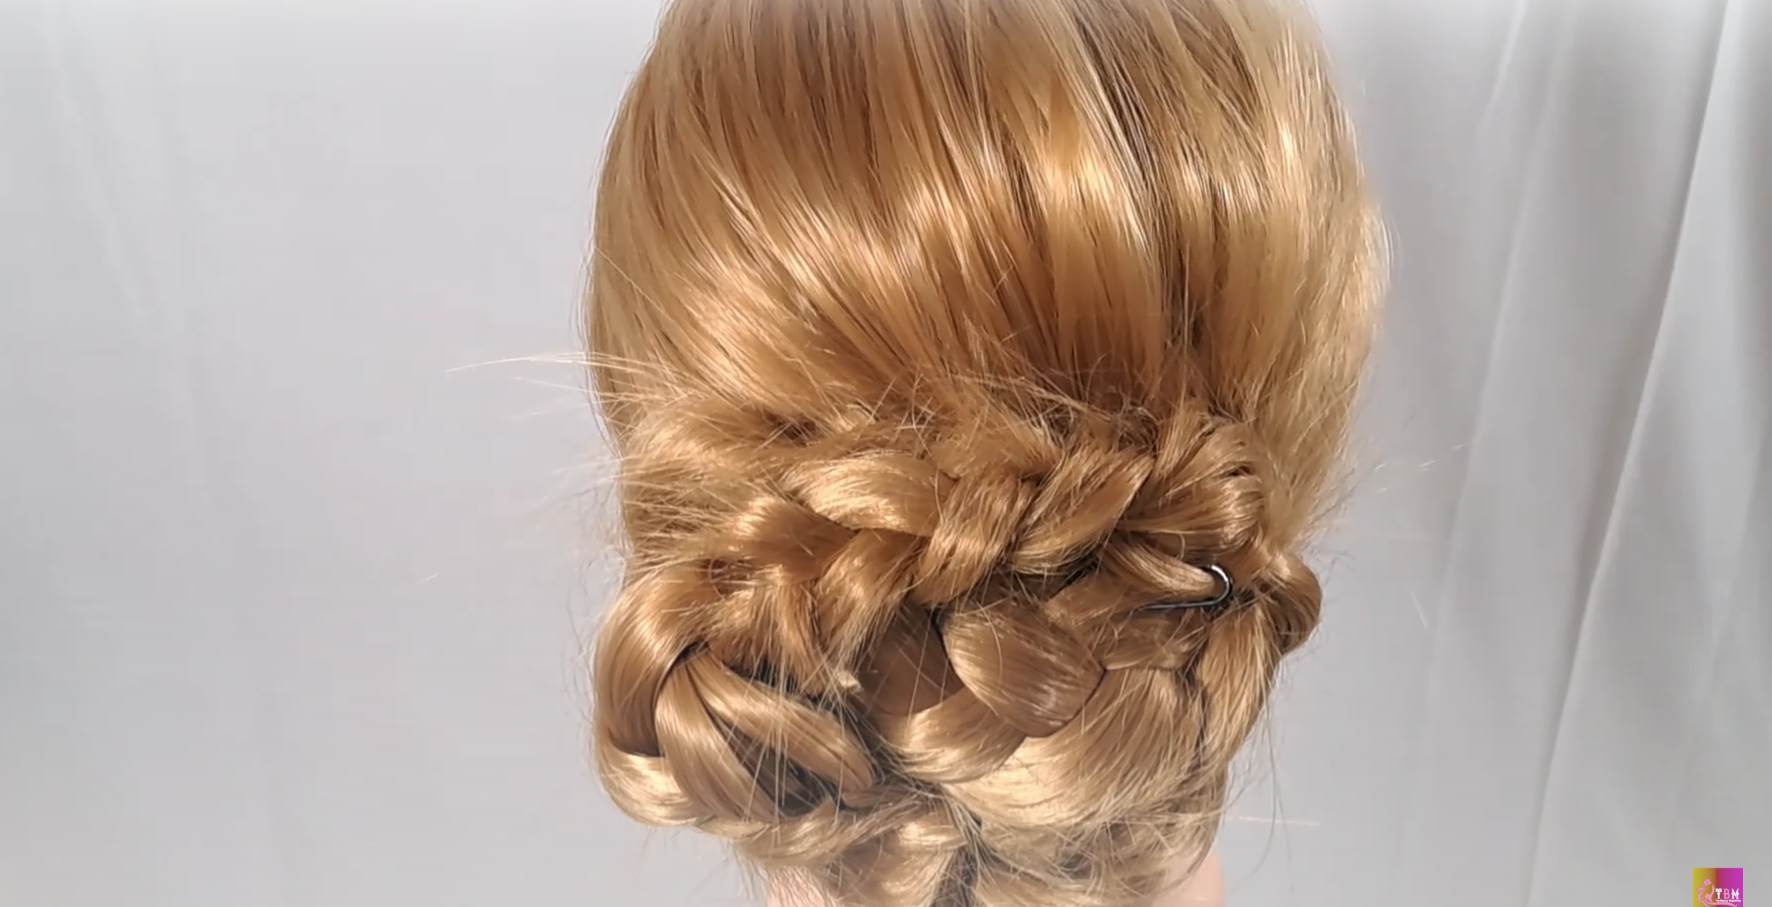
The knot bun is a timeless hairstyle that effortlessly combines sophistication and grace. Its intricate appearance might seem daunting, but fear not! In this step-by-step tutorial, we’ll guide you through the process of creating a stunning knot bun in seven easy steps that’s sure to turn heads and make you feel confident and stylish. Let’s get started!
Materials Needed:
Hairbrush or comb
Hair tie or elastic band
Bobby pins
Hair spray (optional)
Step 1: Divide and Prepare
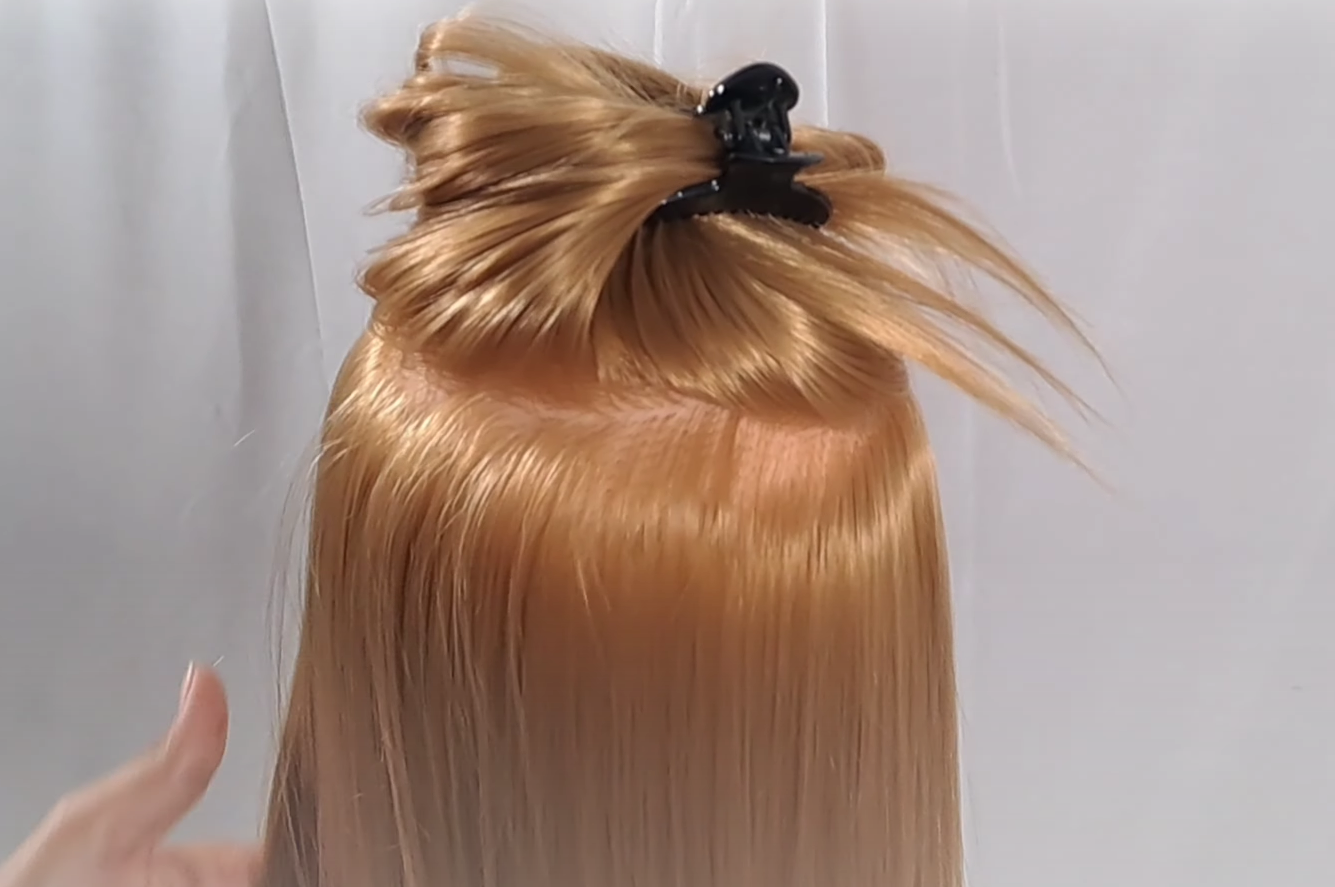
Start with clean, dry hair. Comb your hair to ensure it’s smooth and tangle-free. To begin, divide your hair horizontally into two equal sections, creating a top and bottom section. Secure the top section with a hair clip, leaving the bottom section loose.
Step 2: Create the Foundation

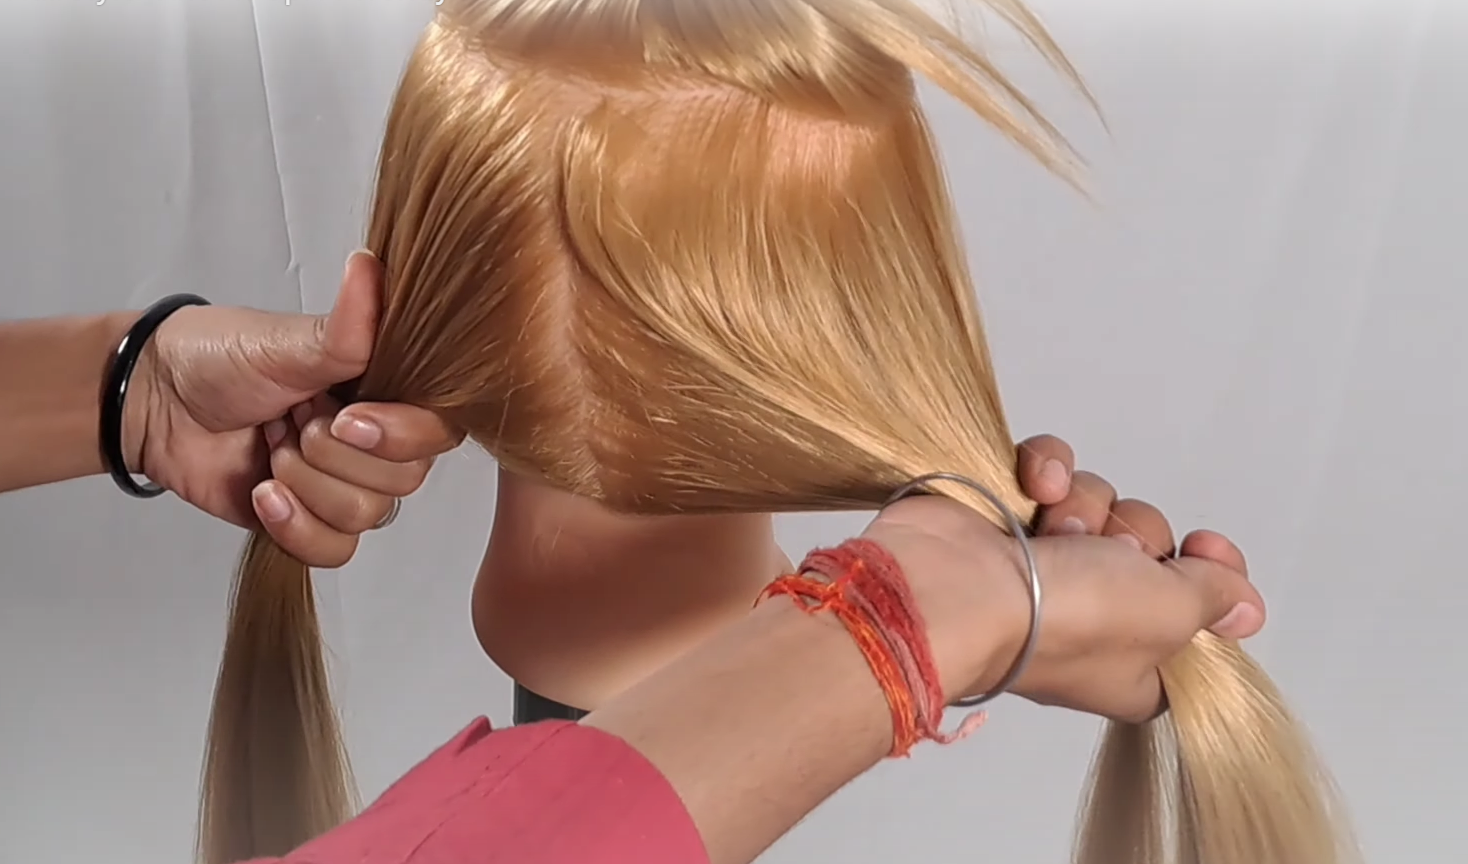
Within the bottom section, divide your hair vertically into two equal parts. Clip these sections to keep them separated. You should now have three distinct sections: one upper and two lower.
Step 3:Create Ponytail

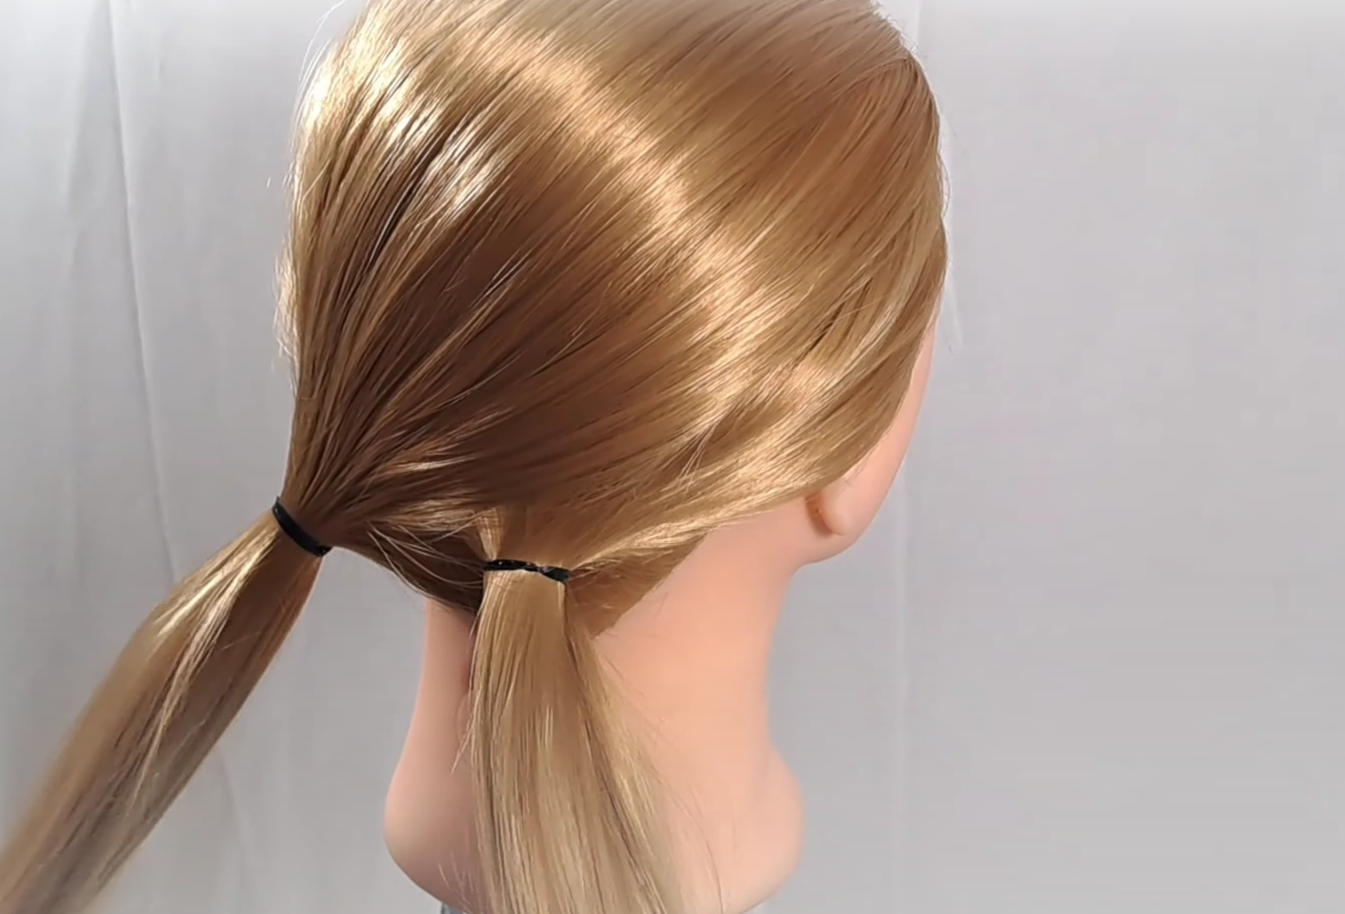
Unclip the top section of your hair. Within this section, further divide it into two parts, similar to what you did with the bottom section. Now, crisscross these upper sections. As you do this, incorporate these strands into the lower section. Secure the merged sections with a hair tie, creating a ponytail.
Step 4: Twist with Style

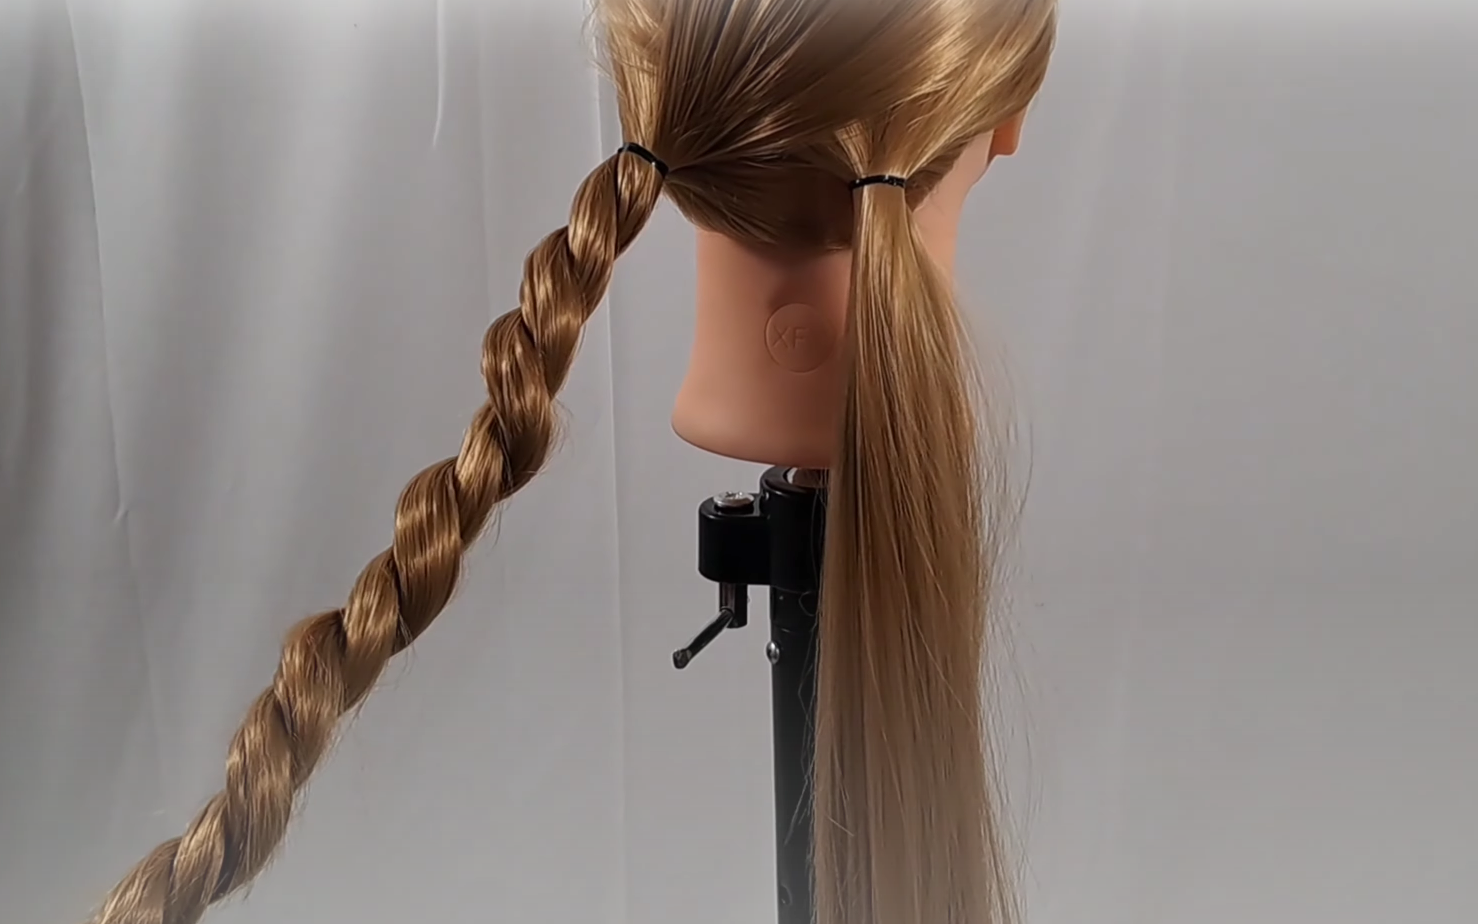
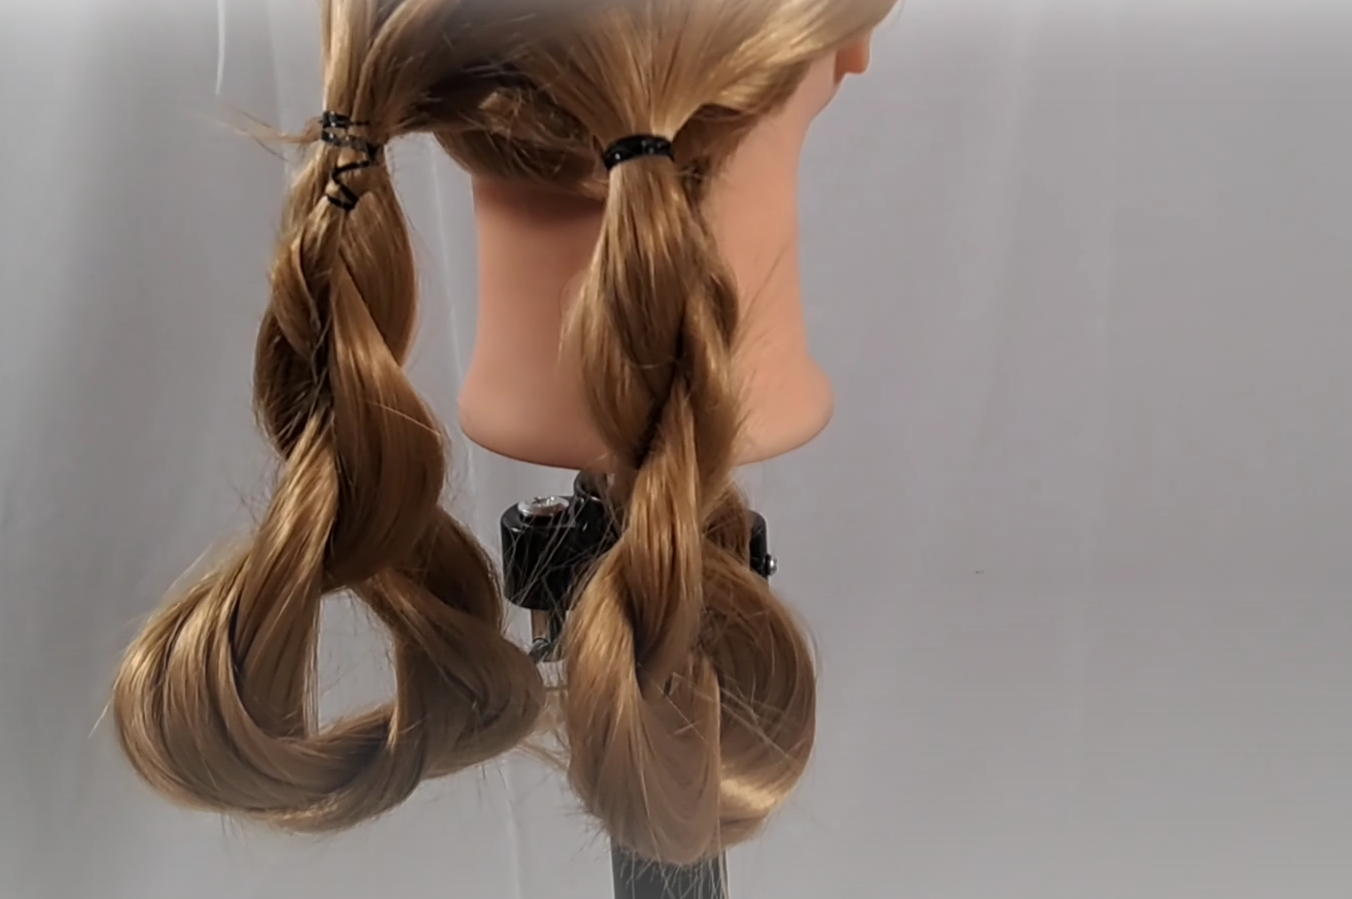
Focus on one of the ponytails. Divide it into two equal sections and gently twist them around each other until you reach the ends. Secure the twisted section with another hair tie. Repeat this twisting process with the other ponytail, ensuring consistency in appearance.
Step 5: Craft the Knot Bun Base

Gently take the ends of one of the twisted ponytails and bring them upwards, joining them with the base of the ponytail. This creates a loop-like shape. Repeat the same process on the other side, forming another loop.
Step 6: Assemble and Secure

Now, the magic happens. Carefully insert the second loop you created onto the first one, creating a beautifully intertwined knot. As you do this, secure the loops to your scalp using bobby pins. This step not only adds stability to your knot bun but also contributes to its sophisticated appearance.
Step 7: Final Touches

Give your knot bun a light spritz of hairspray for a long-lasting hold. This optional step can help your knot bun maintain its shape throughout the day. If you’re feeling creative, accessorize your masterpiece with decorative hairpins or other accessories that complement your personal style.

