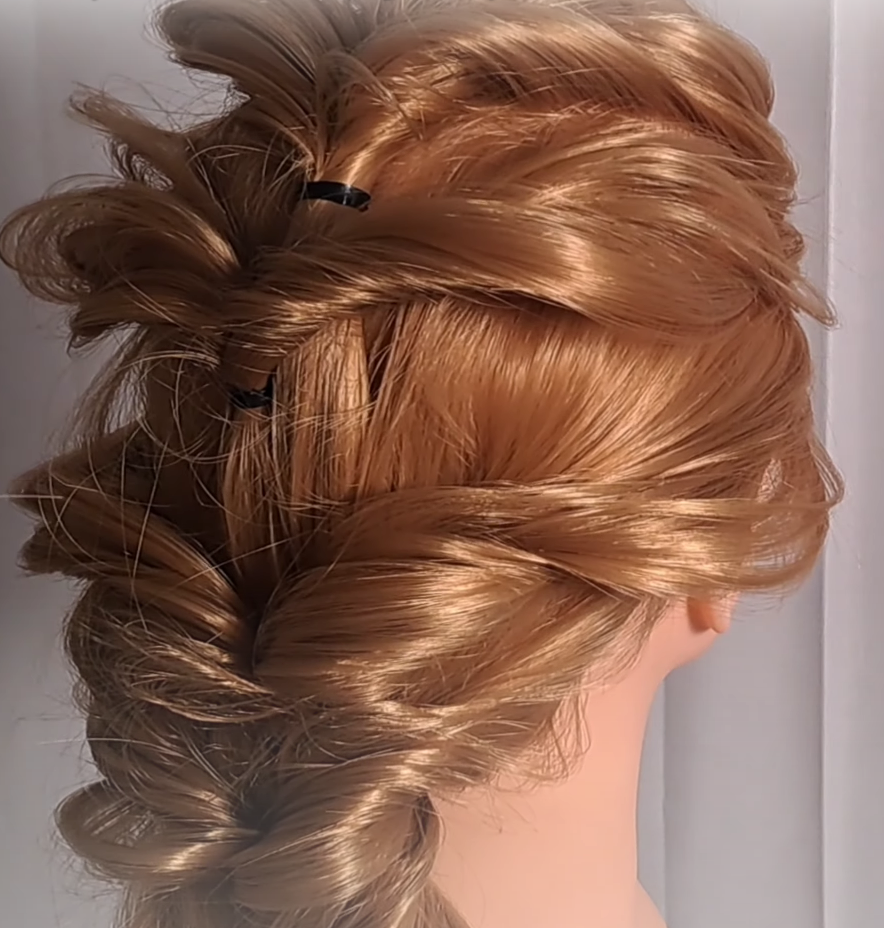
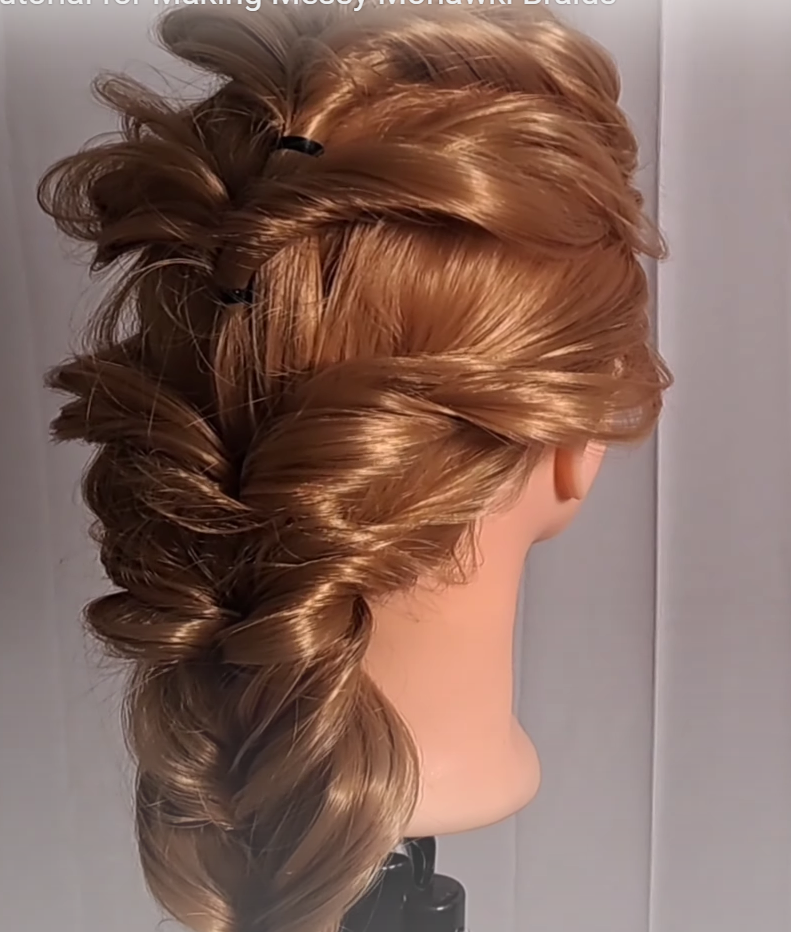
Looking for a hairstyle that exudes uniqueness, edginess, and undeniable confidence? You’ve come to the perfect spot! In this blog, we’ll provide a detailed tutorial on how to create the perfect and easy messy mohawk braid. From preparation to step-by-step instructions, we’ll guide you through each stage, ensuring you achieve that effortlessly cool vibe. Get ready to turn heads and make hearts skip a beat with the awe-inspiring Messy Mohawk Braid. Let’s embark on this exciting journey together and unlock the secrets of this captivating hairstyle. Get ready to rock your individuality with confidence!
Things Required:
- Hairbrush
- Elastic bands
- Hairspray (optional)
Step 1: Prepare Your Hair
To begin, ensure your hair is clean and free from tangles and knots. Use a hairbrush to thoroughly brush your hair, creating a smooth and ready canvas for styling.
Step 2: Create the Base Ponytail
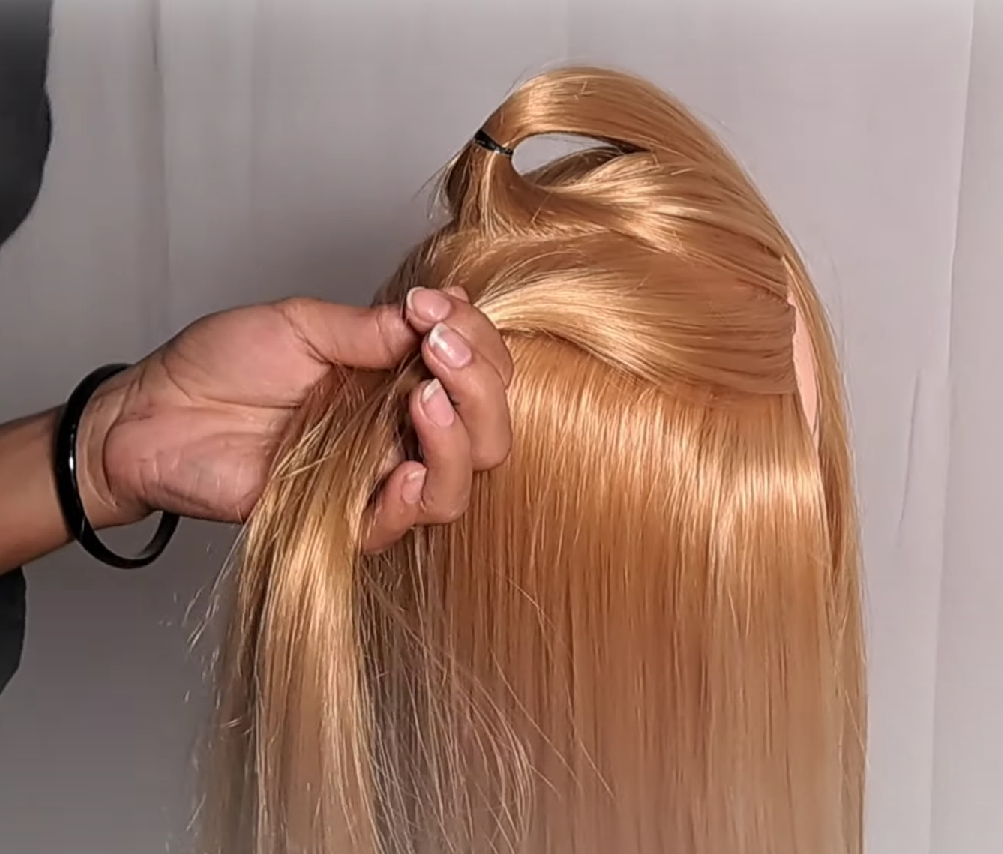
Next, take a small section of hair from the front and gather it into a ponytail at the top of your head. Secure the ponytail with an elastic band, establishing the foundation for your braid.
Step 3: Join Side Sections
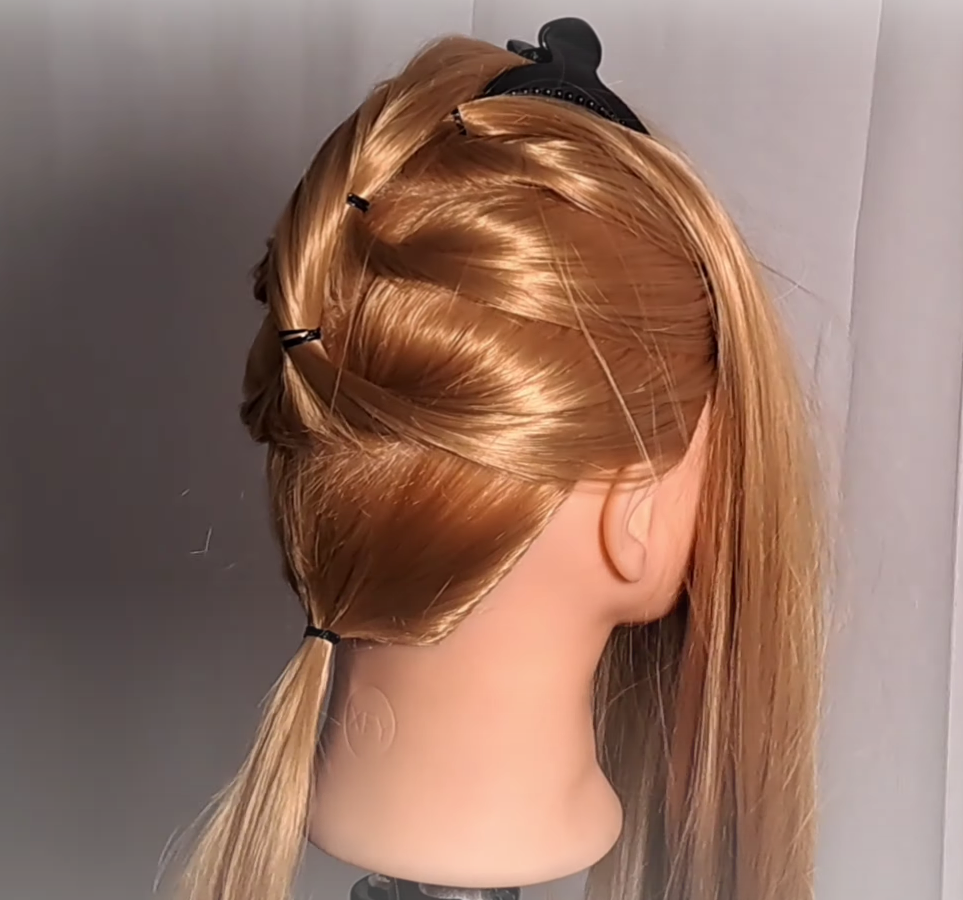
Now, it’s time to bring in the side sections. Take a section of hair from the right side and another from the left side, then bring them together at the center under the ponytail. Secure them with an elastic band, ensuring they are firmly held in place.
Step 4: Repeat and Incorporate Hair
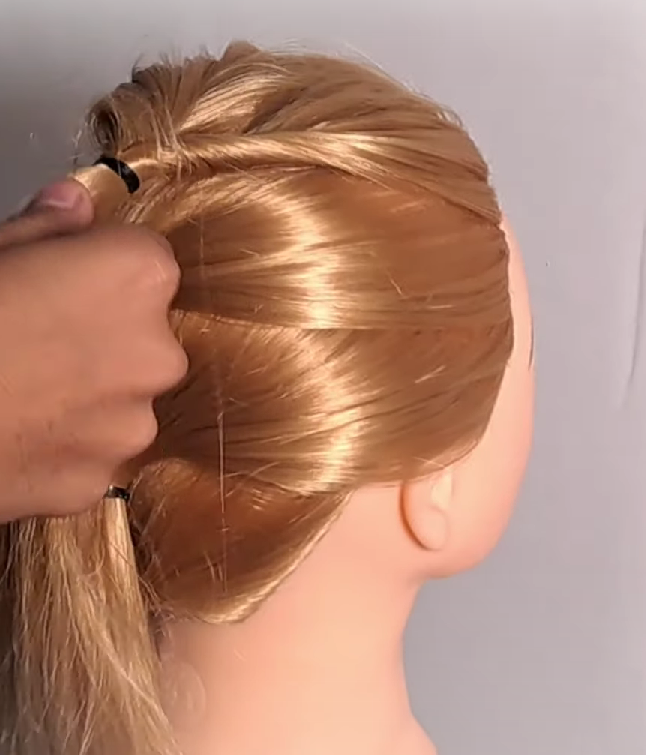
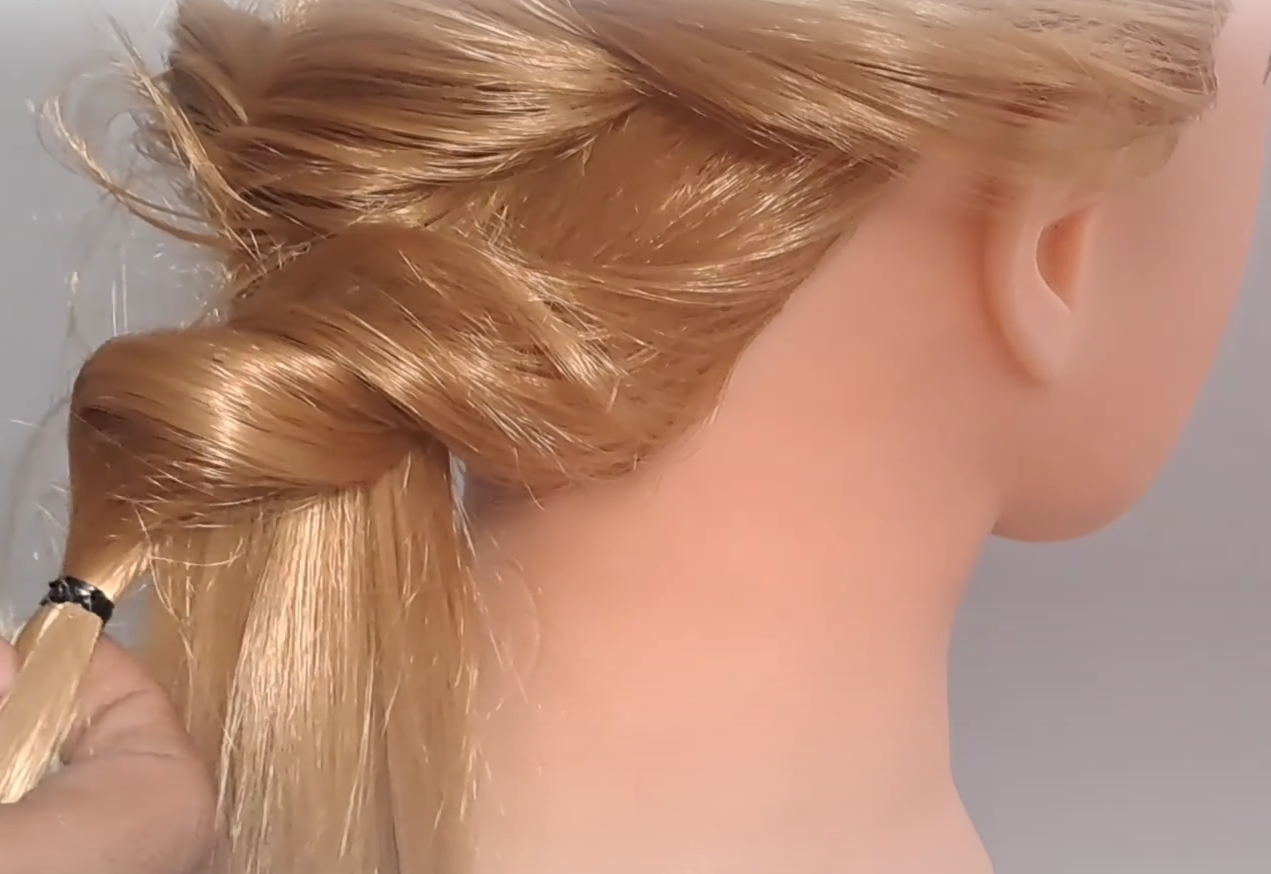
Continue the process by repeating the previous step. Take two new sections of hair from each side, join them at the center under the previous ponytail, and secure them with an elastic band. Repeat this pattern until you reach the nape of your neck, incorporating all the loose hair into the ponytails.
Step 5: Invert and Twist
Now it’s time for the twist! Create a loop or hole in the first ponytail and invert it by pushing it through the loop, resulting in an inside-out effect. Gently pull the inverted ponytail through the loop, creating a beautiful twist.
Step 6: Add Volume
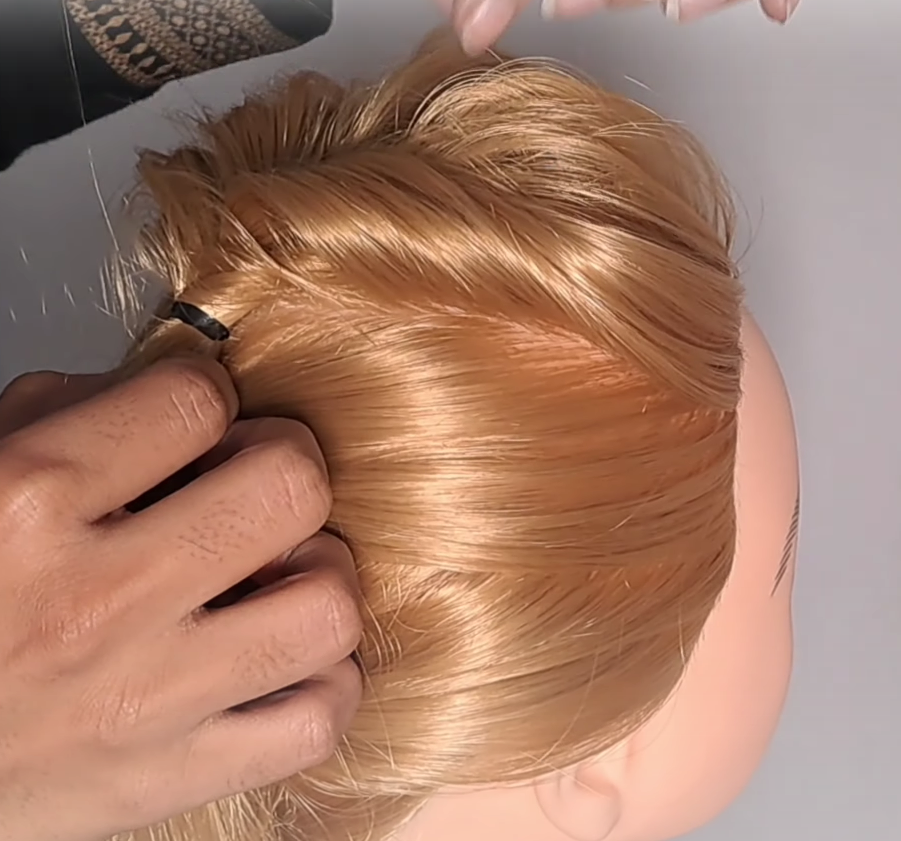
For some added volume, pull and tease some hair at the top of your head. This will give your braid a more voluminous and textured appearance, adding an extra touch of style.
Step 7: Repeat Inversion and Twisting
Repeat the process of inversion and twisting for the remaining sections of hair. Create a loop in the next ponytail, insert the previous strand of hair along with the current section into the loop, and invert the looped section out to form a twist. Continue this sequence until you reach the bottom of your hair.
Step 8: Secure and Tousle
Once you’ve reached the end of your hair, secure the braid with a final elastic band. To enhance the messy look, gently tug on the loops and edges of the braid, loosening and tousling it for a relaxed and effortless appearance.
Optional: Step 9: Set with Hairspray
- If desired, you can lightly spray your hair with hairspray to set the style and provide some extra hold.


