Want to elevate your everyday look with a style? Well, you’re in the right place. In this blog we will show you how to create an Easy Mat Braid hairstyle. This chic and versatile hairstyle can be your go-to for casual outings or special occasions. So let’s get started on achieving this fantastic look.
Step 1: Prepare Your Hair
Start with clean, dry hair. Brush or comb your hair to remove any tangles or knots. This will make the braiding process much smoother.
Step 2: Create Basic Braids 
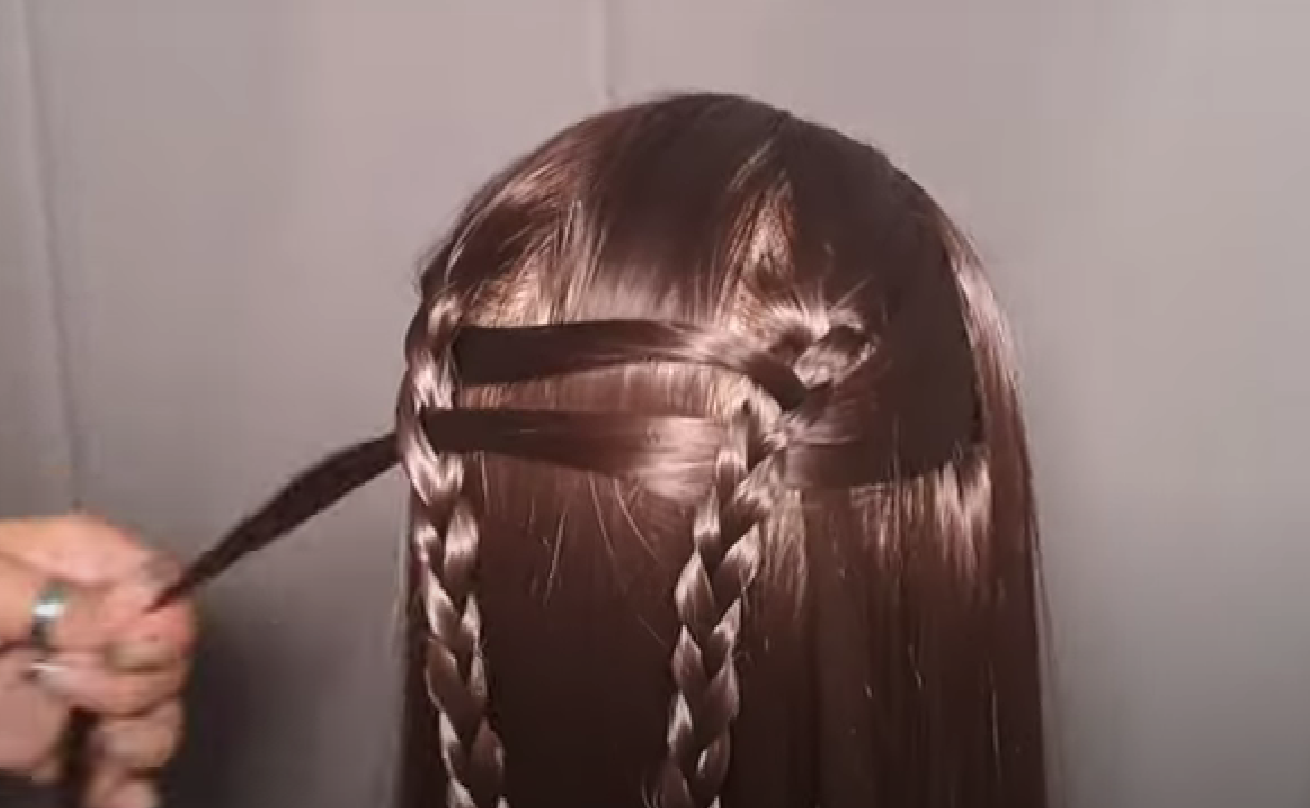
Begin with taking a small section of your hair from the left side of your head and make a simple three strand braid. Do the same on the right side, so you have two basic braids.
Step 3: Insert and Loop
Now, grab a small section of hair from the left side of your head near your braid and cross it under your left braid and insert it into the right braid, making a loop.
Step 4: Repeat on the other side
Do the same thing on the right side. Take a small section of hair from your right side of the head and insert it to the left braid forming a mat look.
Step 5: Repeat
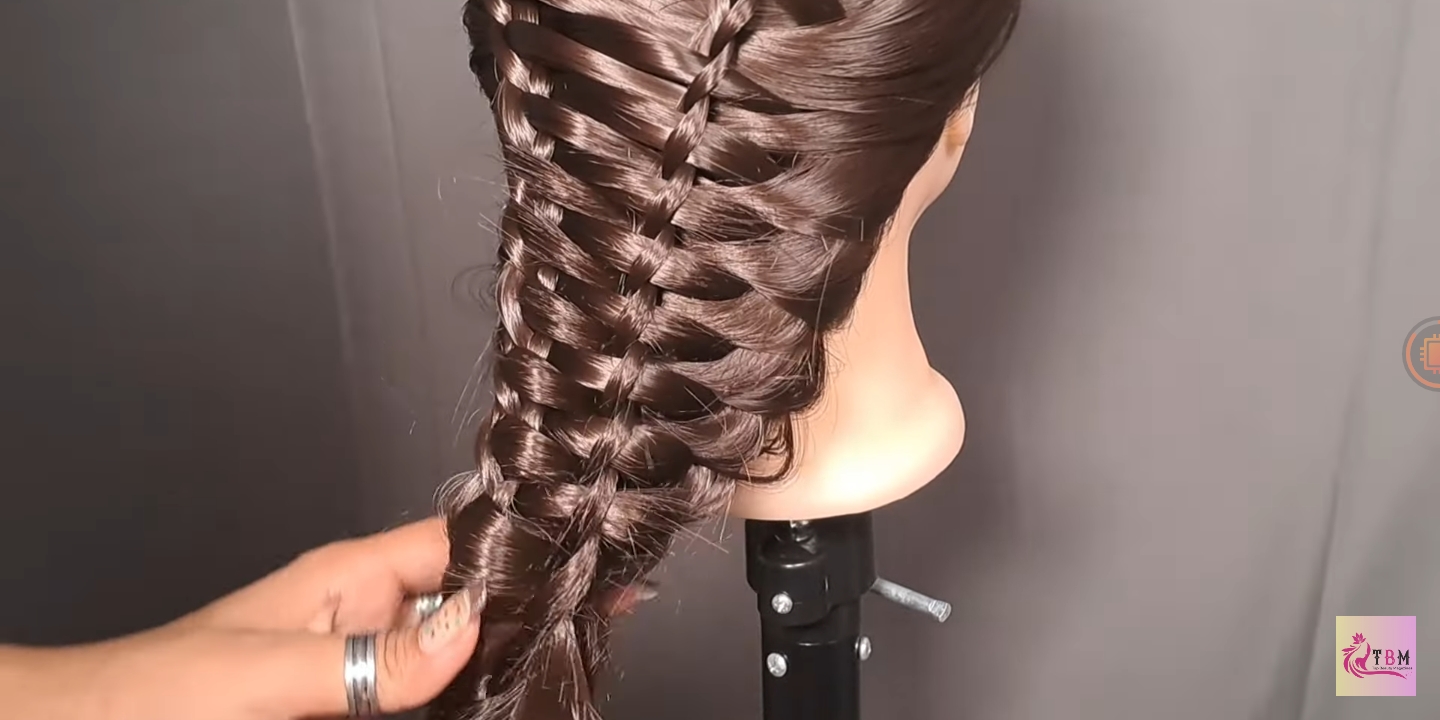
Keep repeating this process. Once from the left side then from the right. Do this until you reach the bottom of your braids.
Step 6 Secure with a Hairband
Finally, tie a hairband at the end to secure your mat braid in place.
And voilà! You’ve just created a beautiful mat braid hairstyle. It’s that simple and looks stunning. Give it a try and rock that unique look!


