Take your Hairstyle to the next level with a honeycomb bun that resembles the structure of a honeycomb. It’s a quick yet cool way to add a little personality to your normal bun. Whether you’re prepping for a special event or want to spice up your daily look, this step-by-step guide has got you covered.
Materials Needed:
Hairbrush
Hair ties
Bobby pins
Hair spray
Hair donut
Step 1: Prep Your Hair
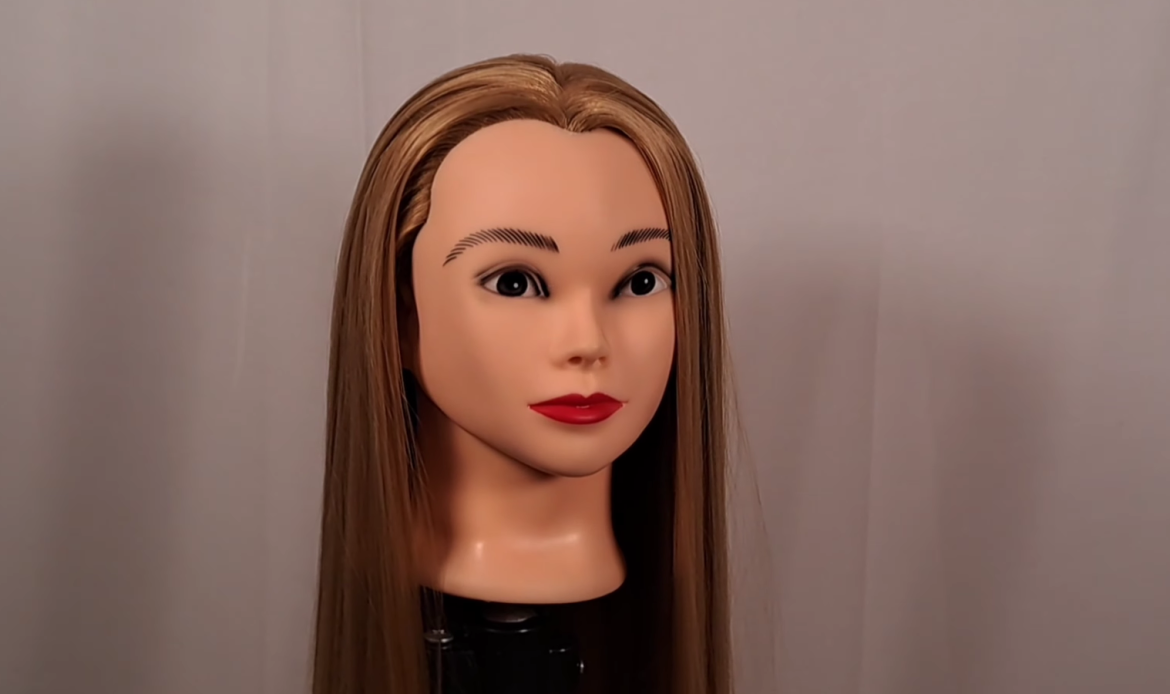
Start by brushing your hair to remove any tangles and knots. You can choose to straighten your hair beforehand for a neater look. However, the Honeycomb Bun looks fabulous on both straight and wavy hair.
Step 2: Create a Ponytail
Gather your hair at the crown of your head or where you want your bun to be placed, and secure it with a hair tie to create a ponytail. Make sure that your ponytail is tight.
Step 3: Create a Bun
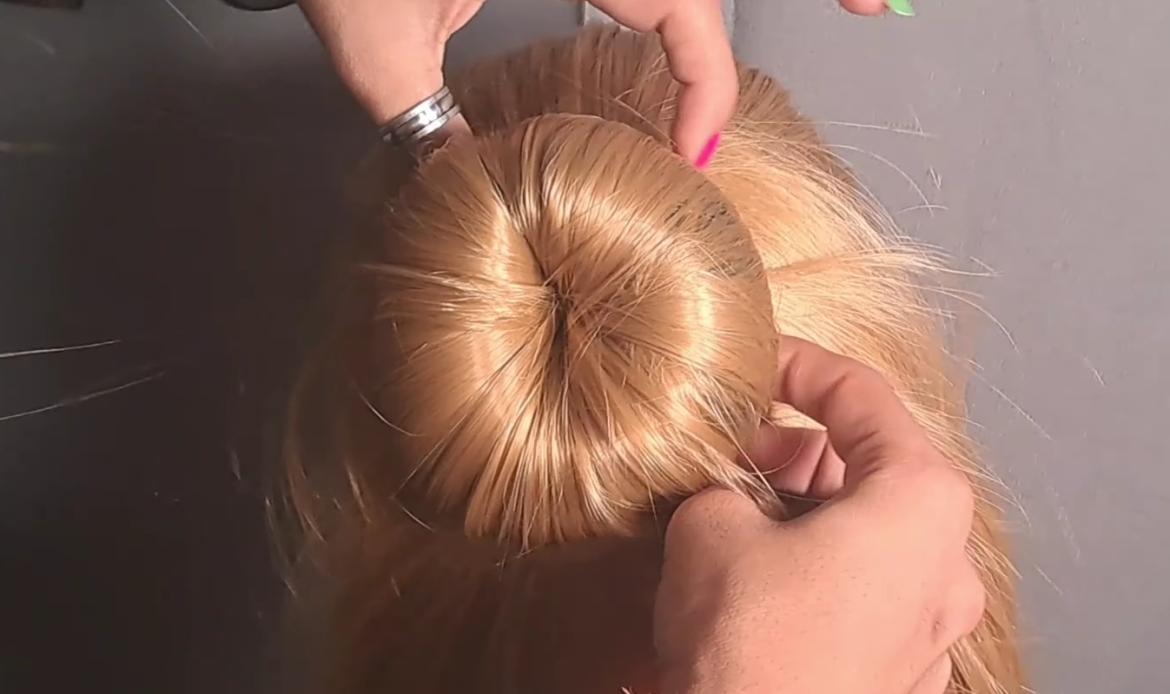
Now, insert a donut in your ponytail, wrap it with your hair, as shown above, and tie a rubber band to it to create a bun.
Step 4: Braiding
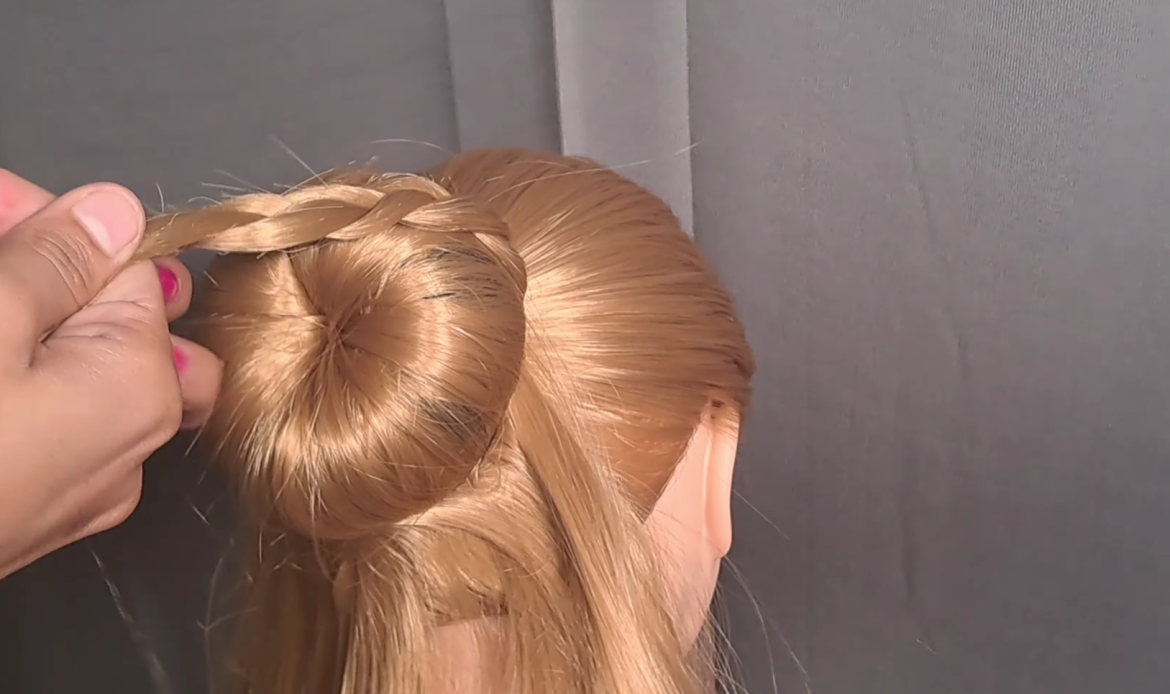
Take a small section of hair that is sticking out of your bun and start making a three-strand braid; tie an elastic band at the bottom of your braid and gently tease and wrap it around your bun, securing it with bobby pins.
Step 5: Repeat Braiding
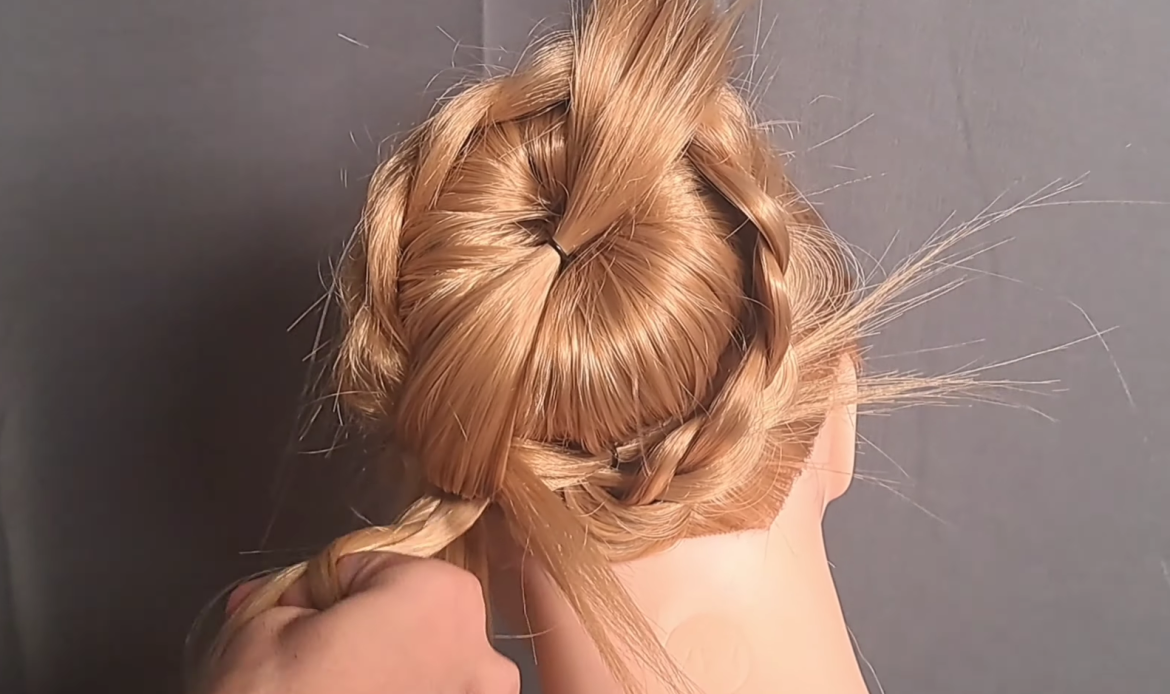
Take one of the sections and pin it at the center of your bun without braiding; now repeat step 4 with all the remaining sections. Make sure each braided section is wrapped evenly around the bun.
Step 6: Create a Rose
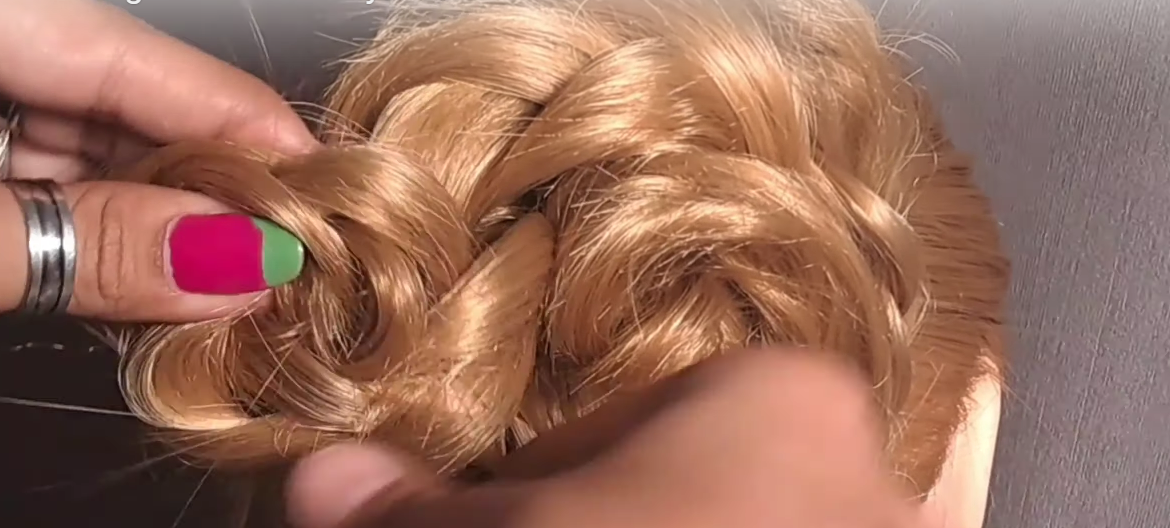
Take the hair that you pinned at the center of your bun and braid it. Now gently tease the braid and roll it from the bottom towards the center, creating a rose-like shape, and secure it tight with bobby pins.
Step 7: Final Touches
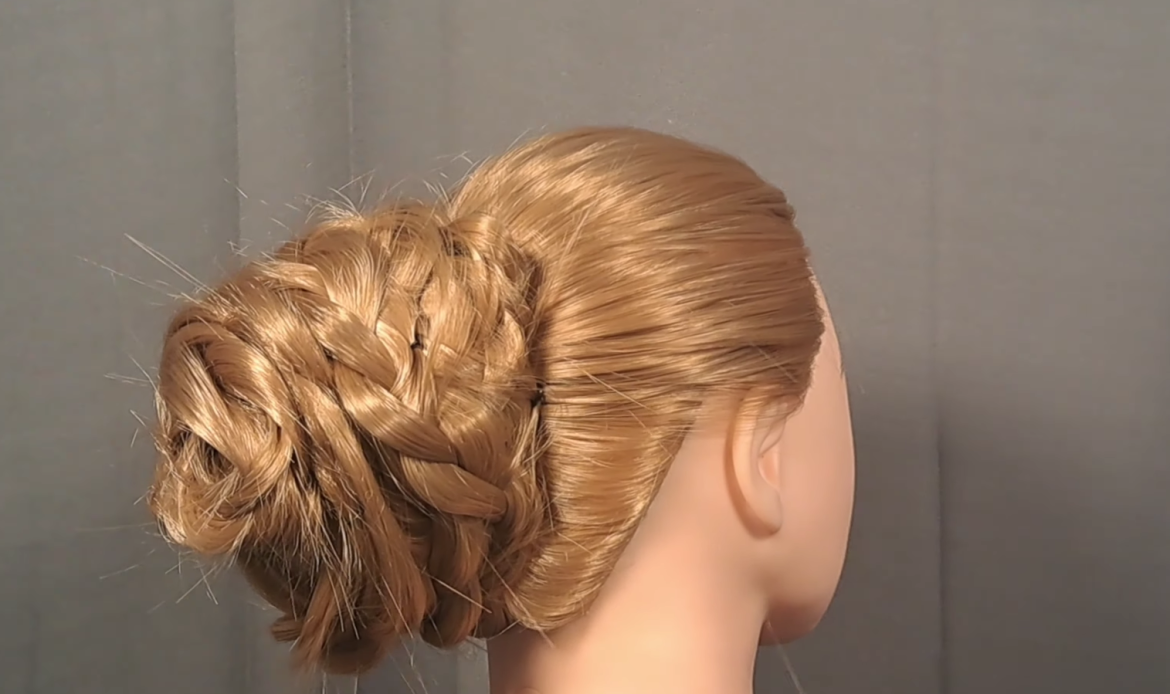
Lightly spray hairspray over the entire honeycomb bun hairstyle to keep it in place throughout the day or evening. This will provide a hold and prevent any flyaways.
Enjoy your day with this Honeycomb Bun Hairstyle that is sure to turn heads wherever you go.
