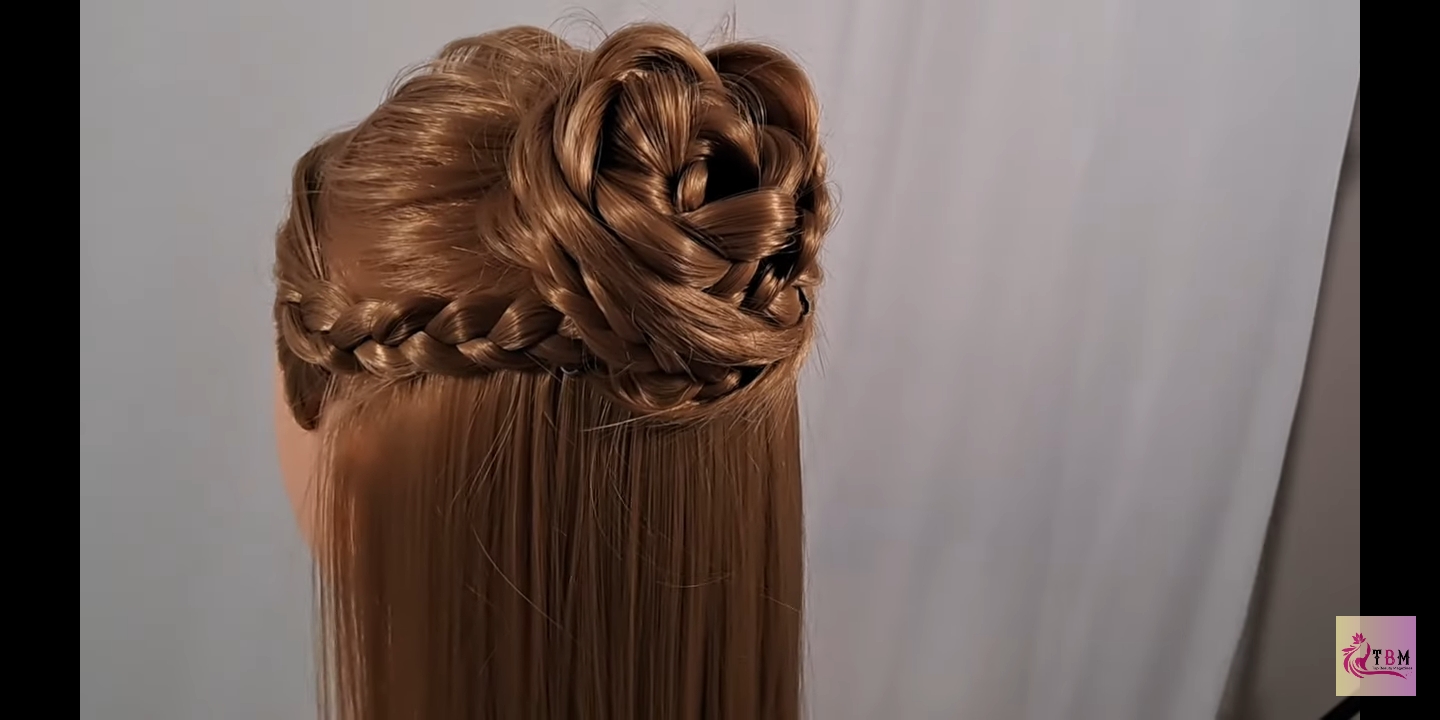
Are you tired of rocking the same old hairstyle day after day? Well, I feel you, babe! We all crave a little change, a little spice in our lives. That’s why I’m here to share a game-changing hair tutorial with you. Get ready to level up your hair game with the mesmerizing DIY Boho Rose Bun. Trust me, this style is pure magic that oozes romance, whimsy, and bohemian charm. It’s perfect for a music festival, a romantic date night, or even as an everyday statement look. The best part? You can create this magical hairstyle right at home with just a few simple steps and some handy hair tools. This hairstyle is a guaranteed head-turner and will make you feel like an absolute goddess. Get ready to unleash your inner trendsetter and unveil a captivating look that will leave everyone in awe.
Step1:Prepping your hair
Start by prepping your hair. Brush it thoroughly to remove any tangles or knots. If desired, you can apply some texturizing spray or dry shampoo to add volume and texture to your hair.
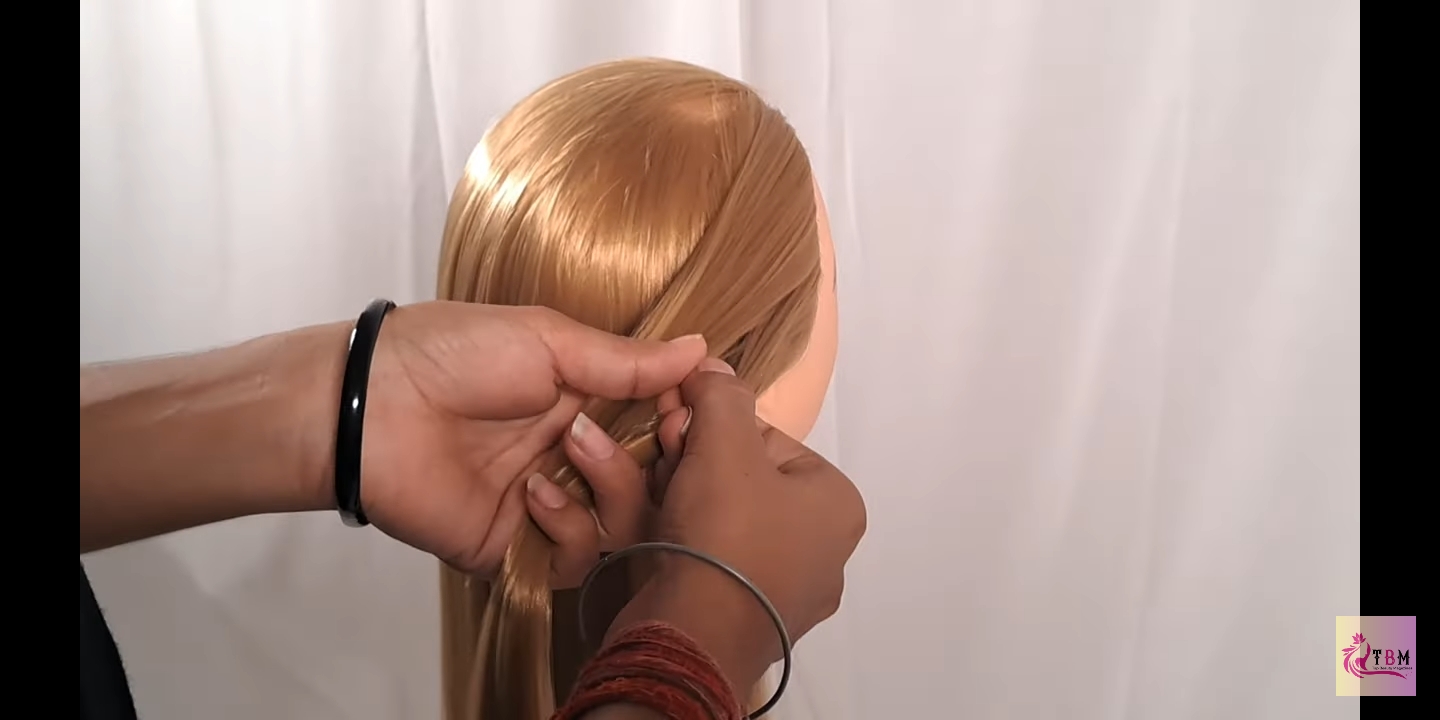
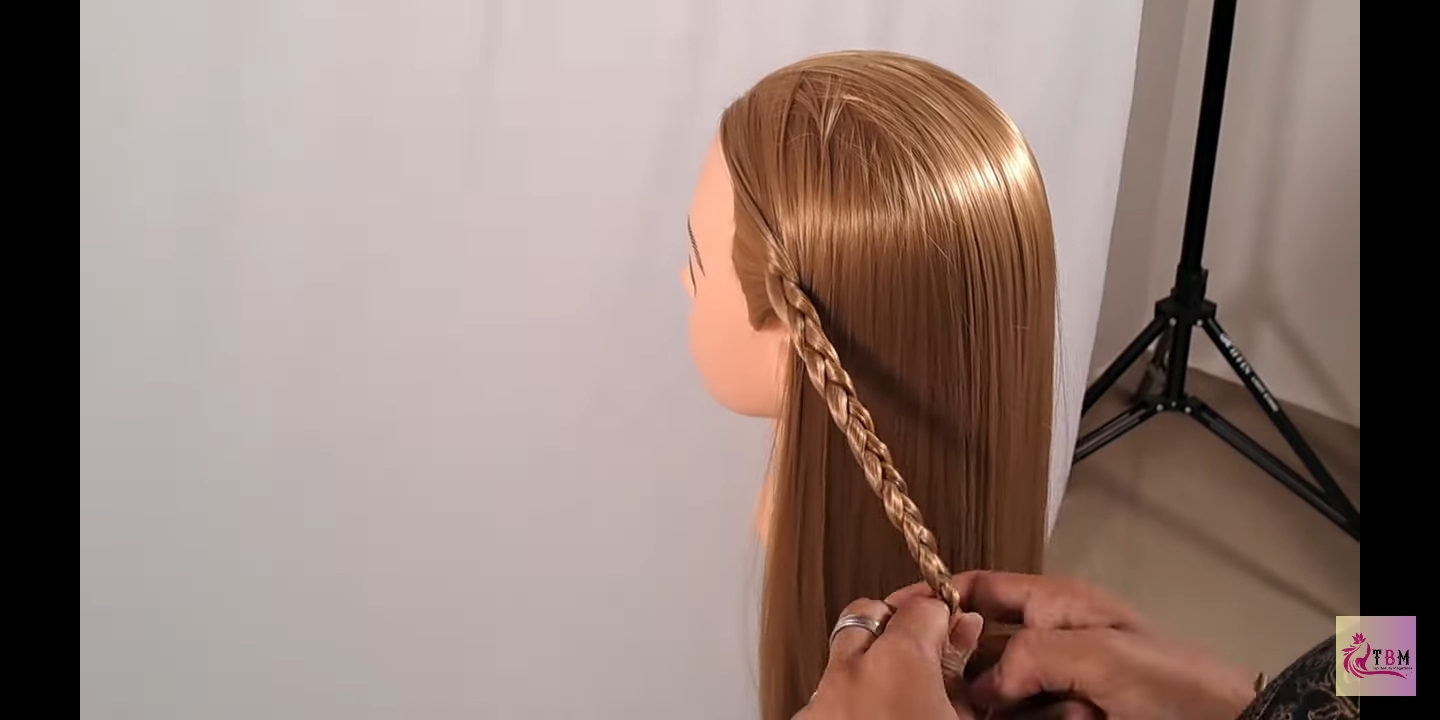
Step2: Create braid
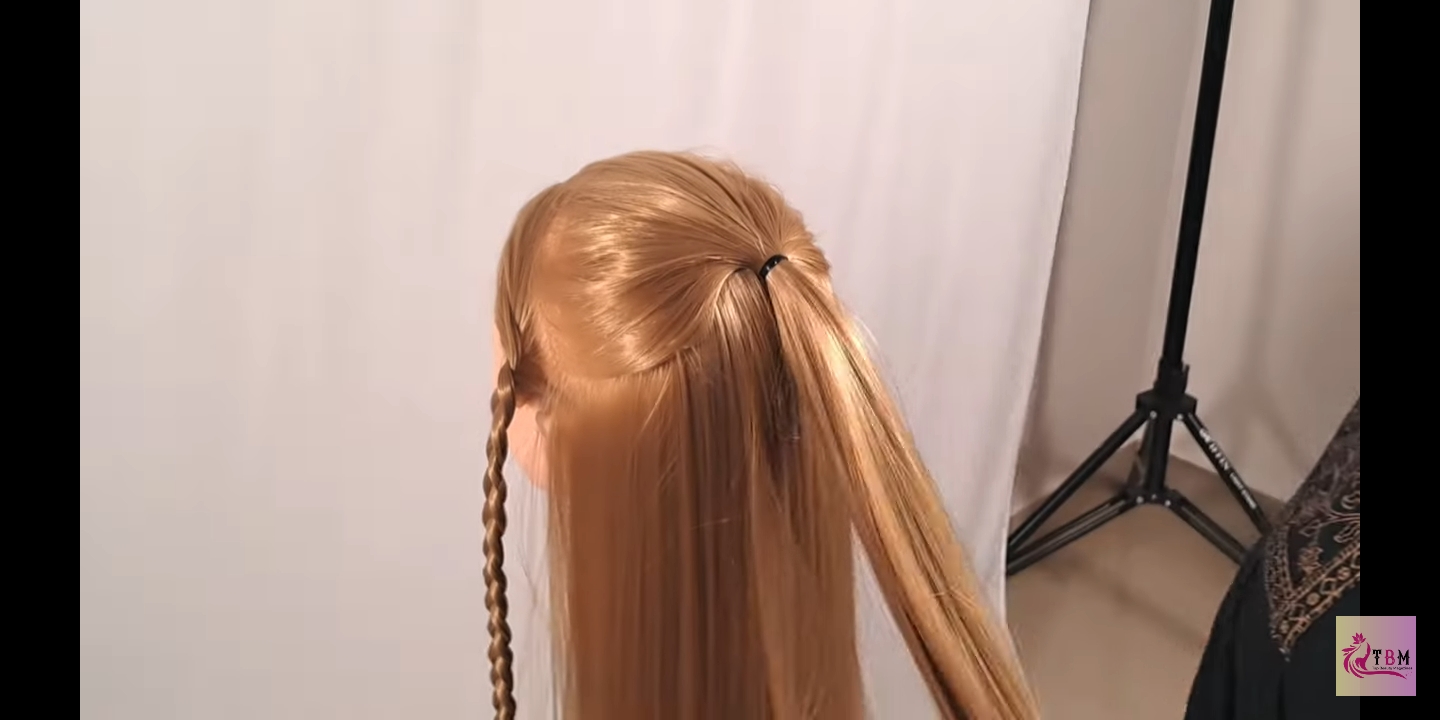
Next take a section of hair from one side of your head, starting from just above the ear. Now divide it into three equal parts. Begin braiding this section. Continue braiding until you reach the ends and secure it with a clear elastic band. Repeat the same process on the other side.
 Step3: Create a half-up ponytail
Gather the remaining hair at the back and bring it up to create a half-up ponytail. Secure it with a hair tie.
Step4: Braid the ponytail
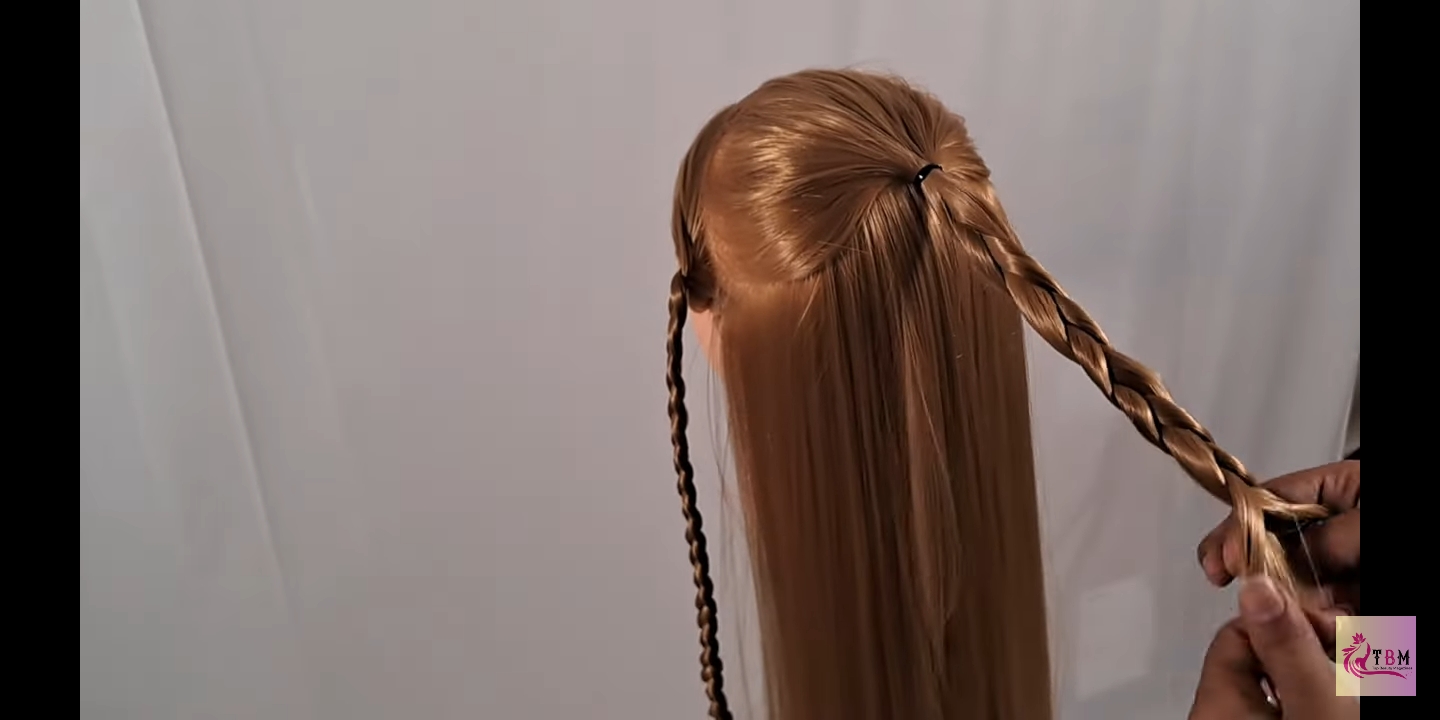
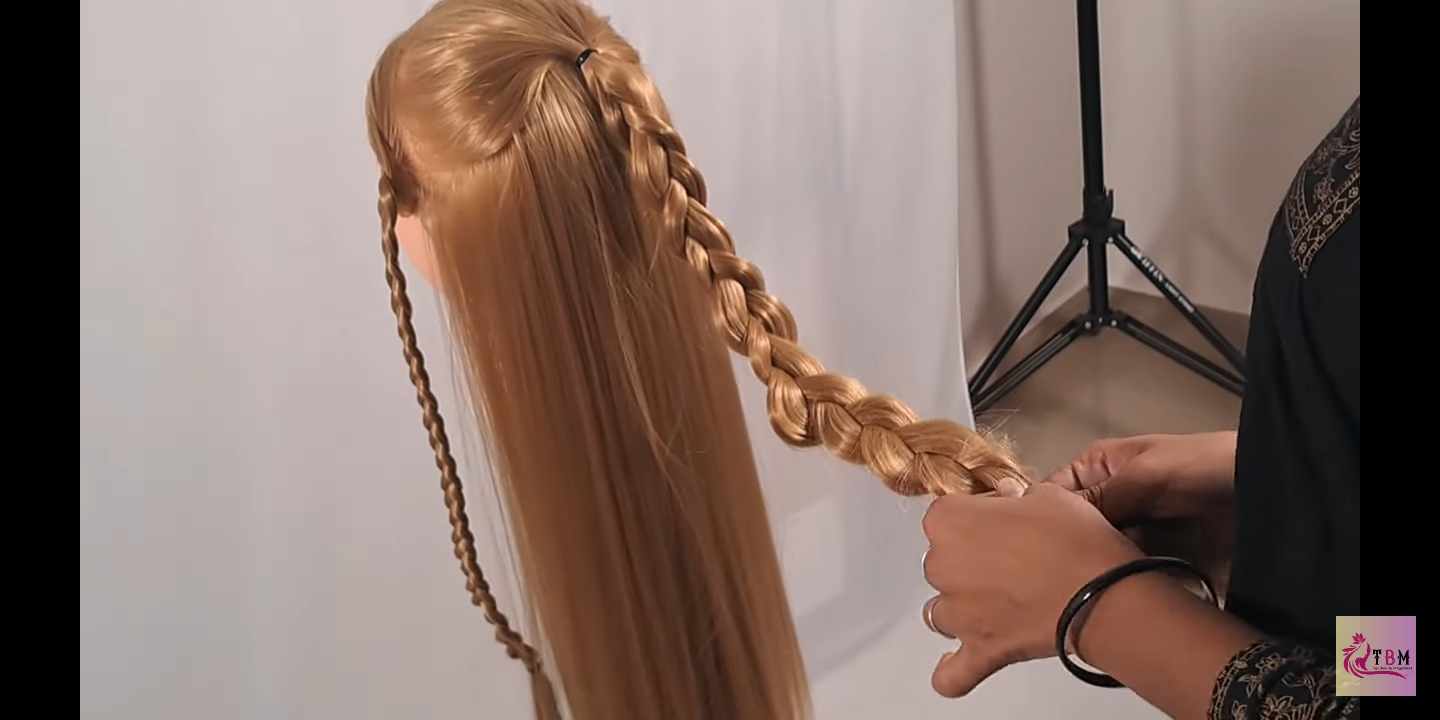
Take the ponytail and divide it into three equal parts. Begin braiding the ponytail, . Continue braiding until you reach the ends and secure it with a clear elastic band.
Step5: Pull the braid’s edge
Gently tug on the edges of the braid to make it appear fuller and more voluminous.
Step6: Create a rose-like bun
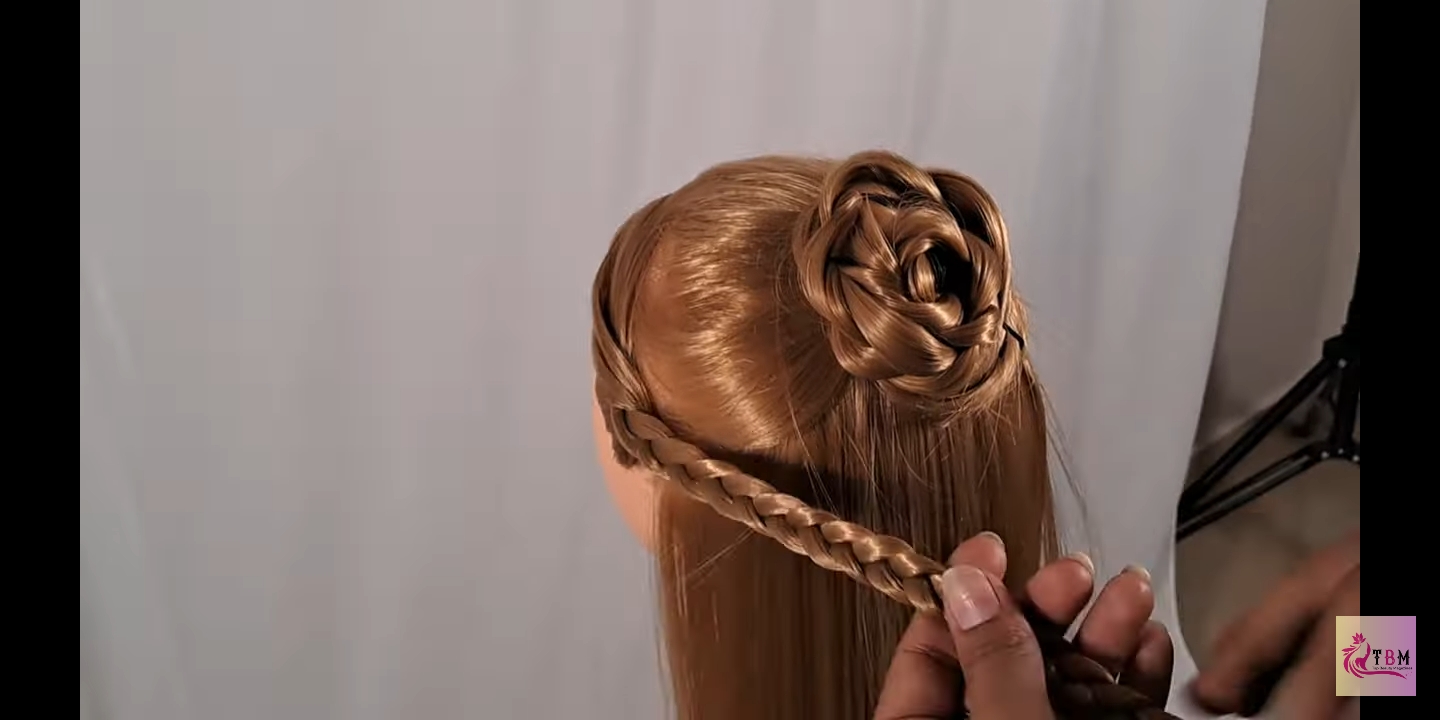
Take the braided ponytail and wrap it around it’s base, creating a rose-like shape.. Secure it with bobby pins, ensuring that the bun feels secure.
Step7: Wrap the braid around the ponytail
Take one of the side braids and gently pull on its edges to make it appear fuller. Wrap the braid around the bun, positioning it in a desired pattern. Secure the end of the braid underneath the base of the bun using bobby pins. Repeat the same step with the other side braid, crossing it over the first braid and securing it with bobby pins.
Step8: Finishing touches
To complete the hairstyle, you can gently pull on the hair from the crown of your head
And there you have it! Your stunning boho rose bun is ready. Enjoy your beautiful hairstyle!

 Step3: Create a half-up ponytail